> For the complete documentation index, see [llms.txt](https://docs.appmixer.com/llms.txt). Markdown versions of documentation pages are available by appending `.md` to page URLs; this page is available as [Markdown](https://docs.appmixer.com/connector-configuration/jira.md).
# Jira
### Register OAuth app
You can find all the necessary information on how to register an OAuth app in Jira in their [official guide](https://developer.atlassian.com/cloud/oauth/getting-started/managing-oauth-apps/).
Access [Attlassian Developer Console](https://developer.atlassian.com/console/myapps/) and create a new app. Click Create and select OAuth 2.0 integration.
Click on the "Register an app" button.
### Set up distribution
When you create an OAuth 2.0 (3LO) app, it's private by default. This means that only you can install and use it. If you want to distribute your app to other users, you must enable sharing.
Please follow the instructions in the [official guide](https://developer.atlassian.com/cloud/jira/platform/oauth-2-3lo-apps/#distributing-your-oauth-2-0--3lo--apps) to set up distribution.
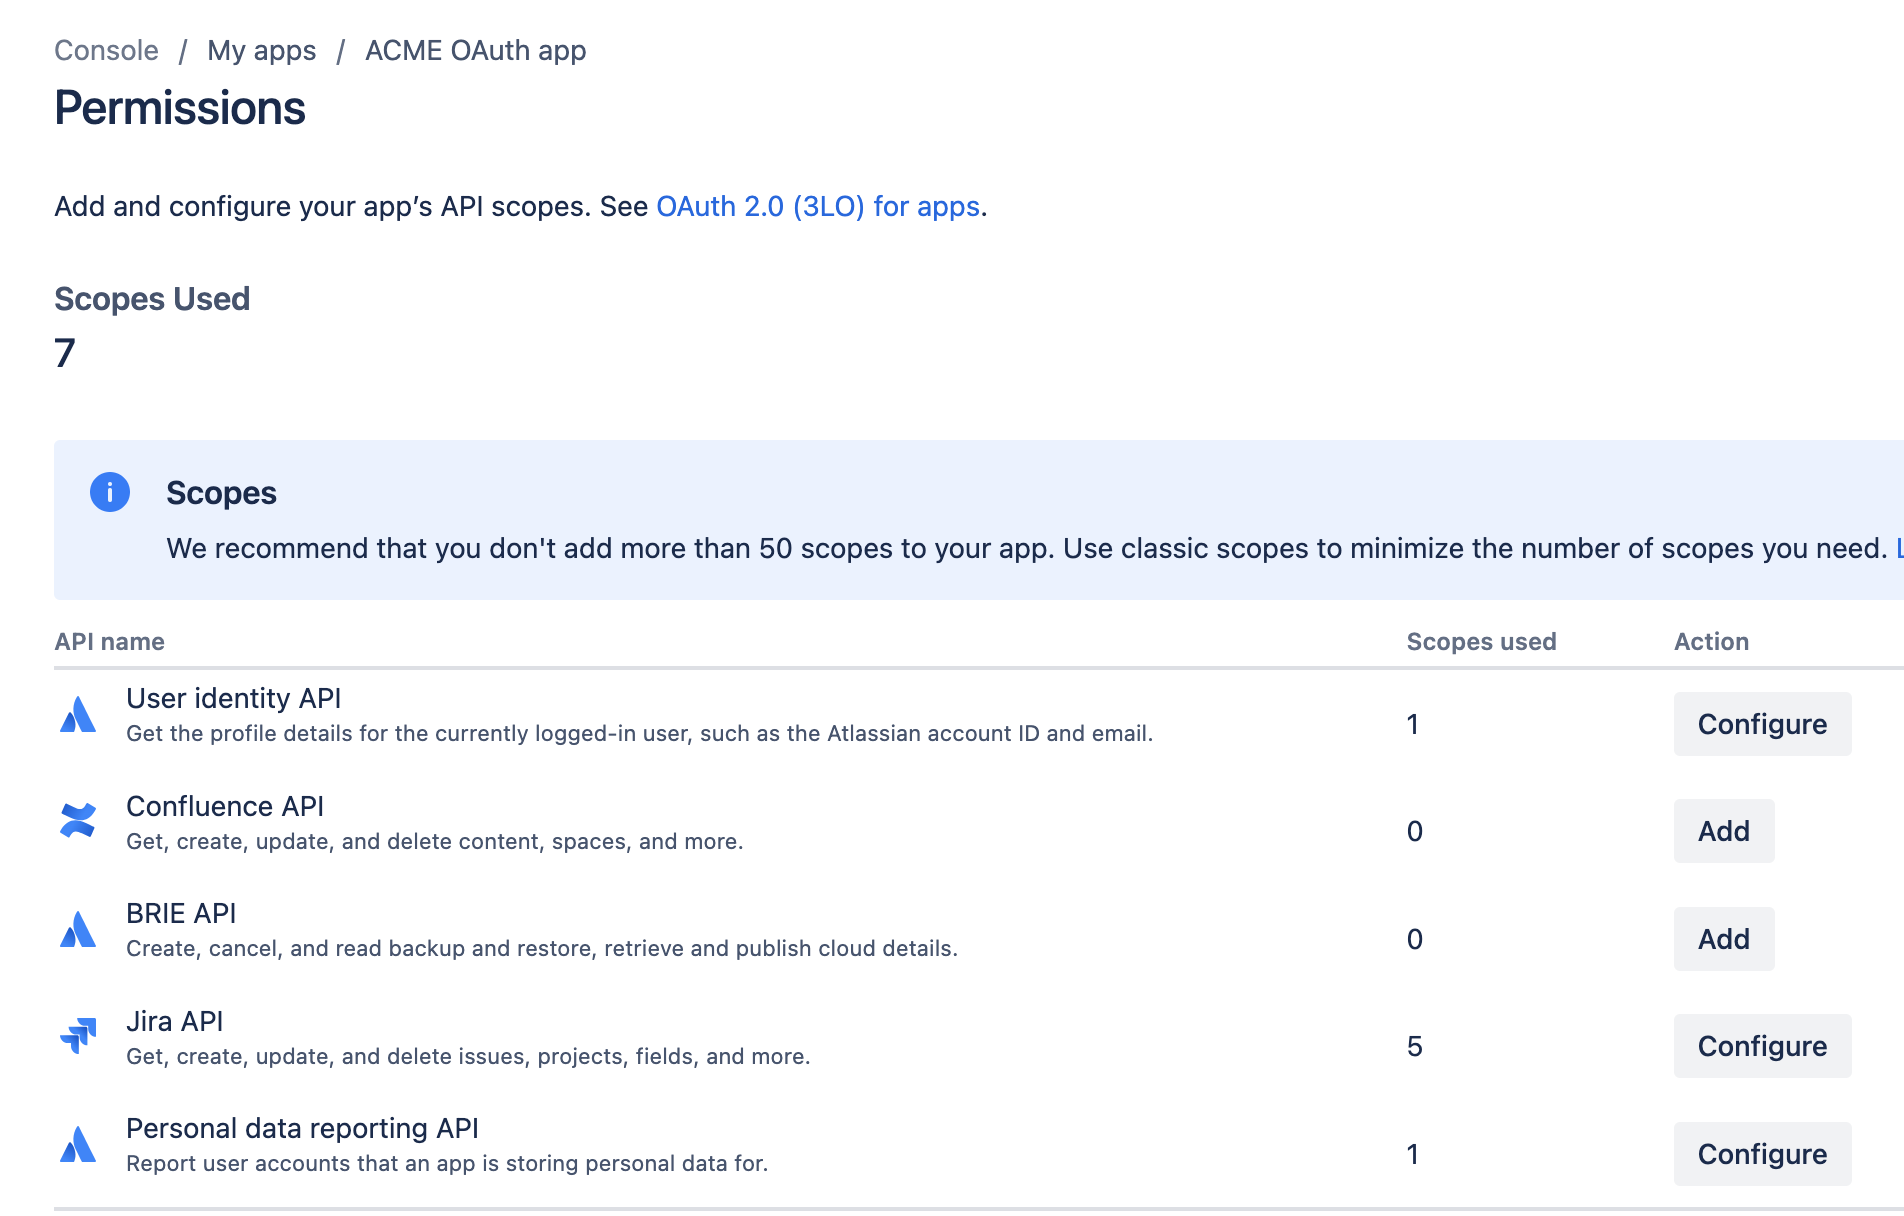
#### Specify scopes
You need to specify the scopes that your app will use. The Jira connector uses **classic** scopes for issue and instance operations, and **granular** scopes for project operations.
> **Note:** The **granular** project scopes below apply to **Jira connector version 4.0 and newer**. Older connector versions use the classic `manage:jira-configuration` scope for project operations instead.
> **Why granular scopes for projects?** With classic scopes, creating, updating or deleting a Jira project requires `manage:jira-configuration` — a broad administrative scope that grants access to **all** Jira configuration (workflows, schemes, screens, custom fields, …). To stay least‑privilege, the connector instead uses Jira's narrow **granular** project scopes (e.g. `write:project:jira` to create/update, `delete:project:jira` to delete), so **no broad admin scope is required**.
Enable **all** of the following scopes:
**User identity**
* `read:me`
**Classic — issues & instance**
* `read:jira-work`
* `write:jira-work`
* `read:jira-user`
**Granular — projects**
* `read:project:jira`
* `write:project:jira`
* `delete:project:jira`
* `write:project.avatar:jira`
* `read:project.property:jira`
* `read:project.component:jira`
* `read:project-category:jira`
* `read:project-version:jira`
* `read:issue-type:jira`
* `read:issue-type-hierarchy:jira`
* `read:user:jira`
* `read:avatar:jira`
* `read:group:jira`
* `read:application-role:jira`
> **Important:** Granular scopes are defined **per endpoint** and must **all** be enabled. Reading or updating a project, for example, requires the **full** set of `read:*` project scopes above — not just `read:project:jira`. A missing scope causes a runtime `401 Unauthorized; scope does not match`. (`offline_access` is requested automatically by the connector.)
This is how the permissions should look like:
Specify scopes
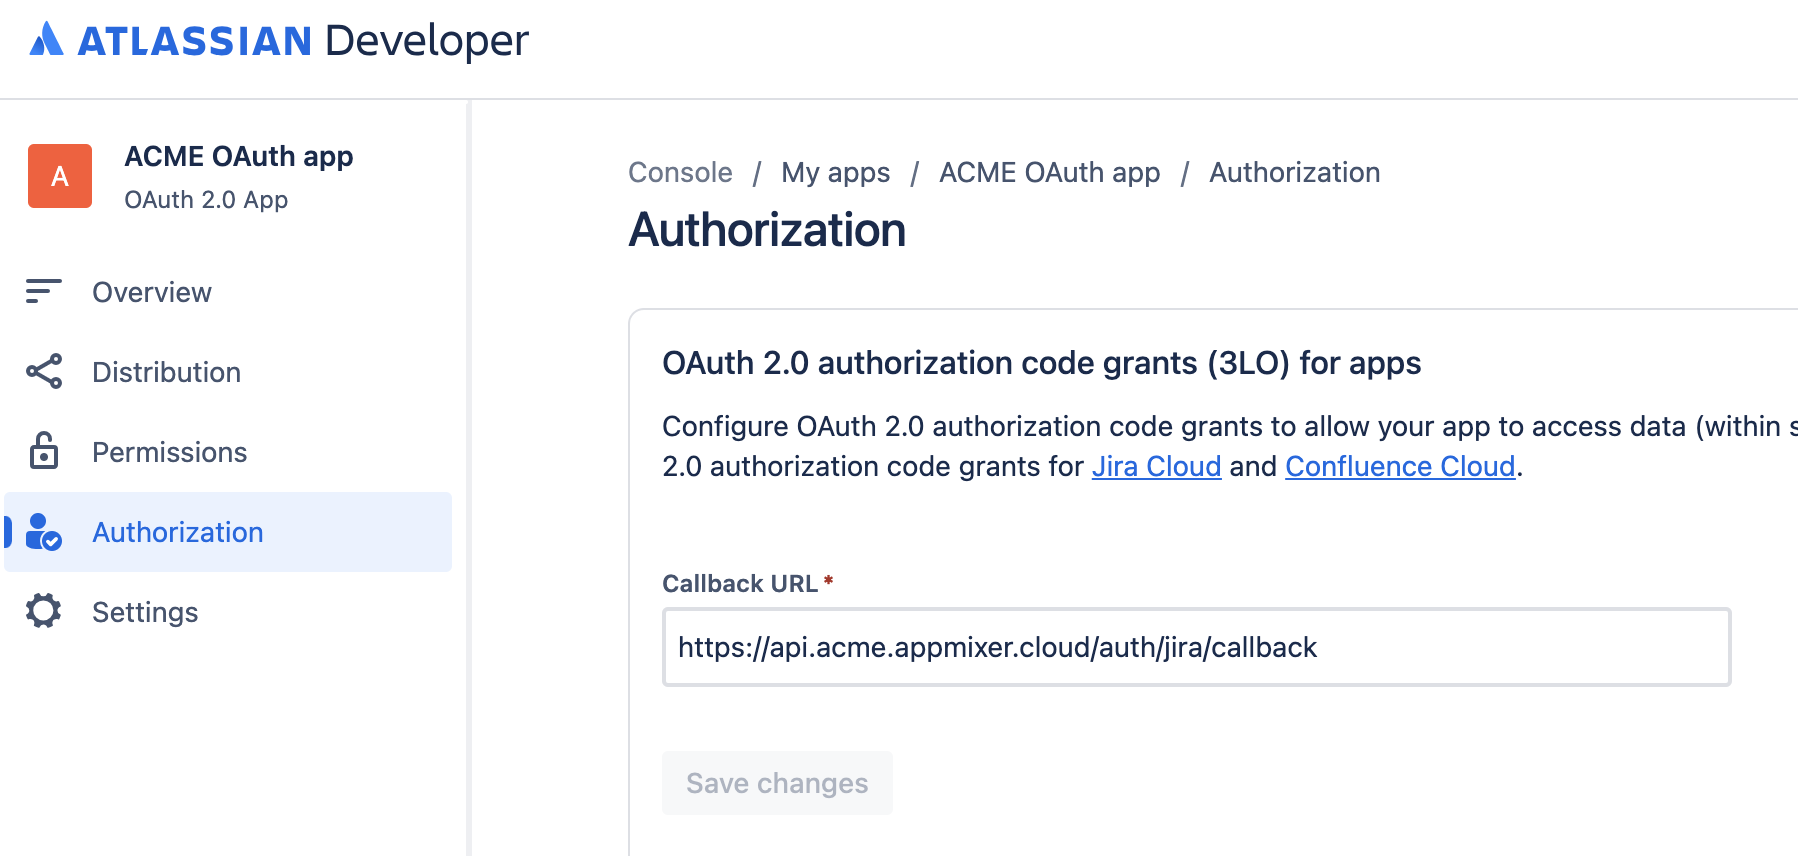
#### Specify Callback URL
Specify callback URL
#### Overview
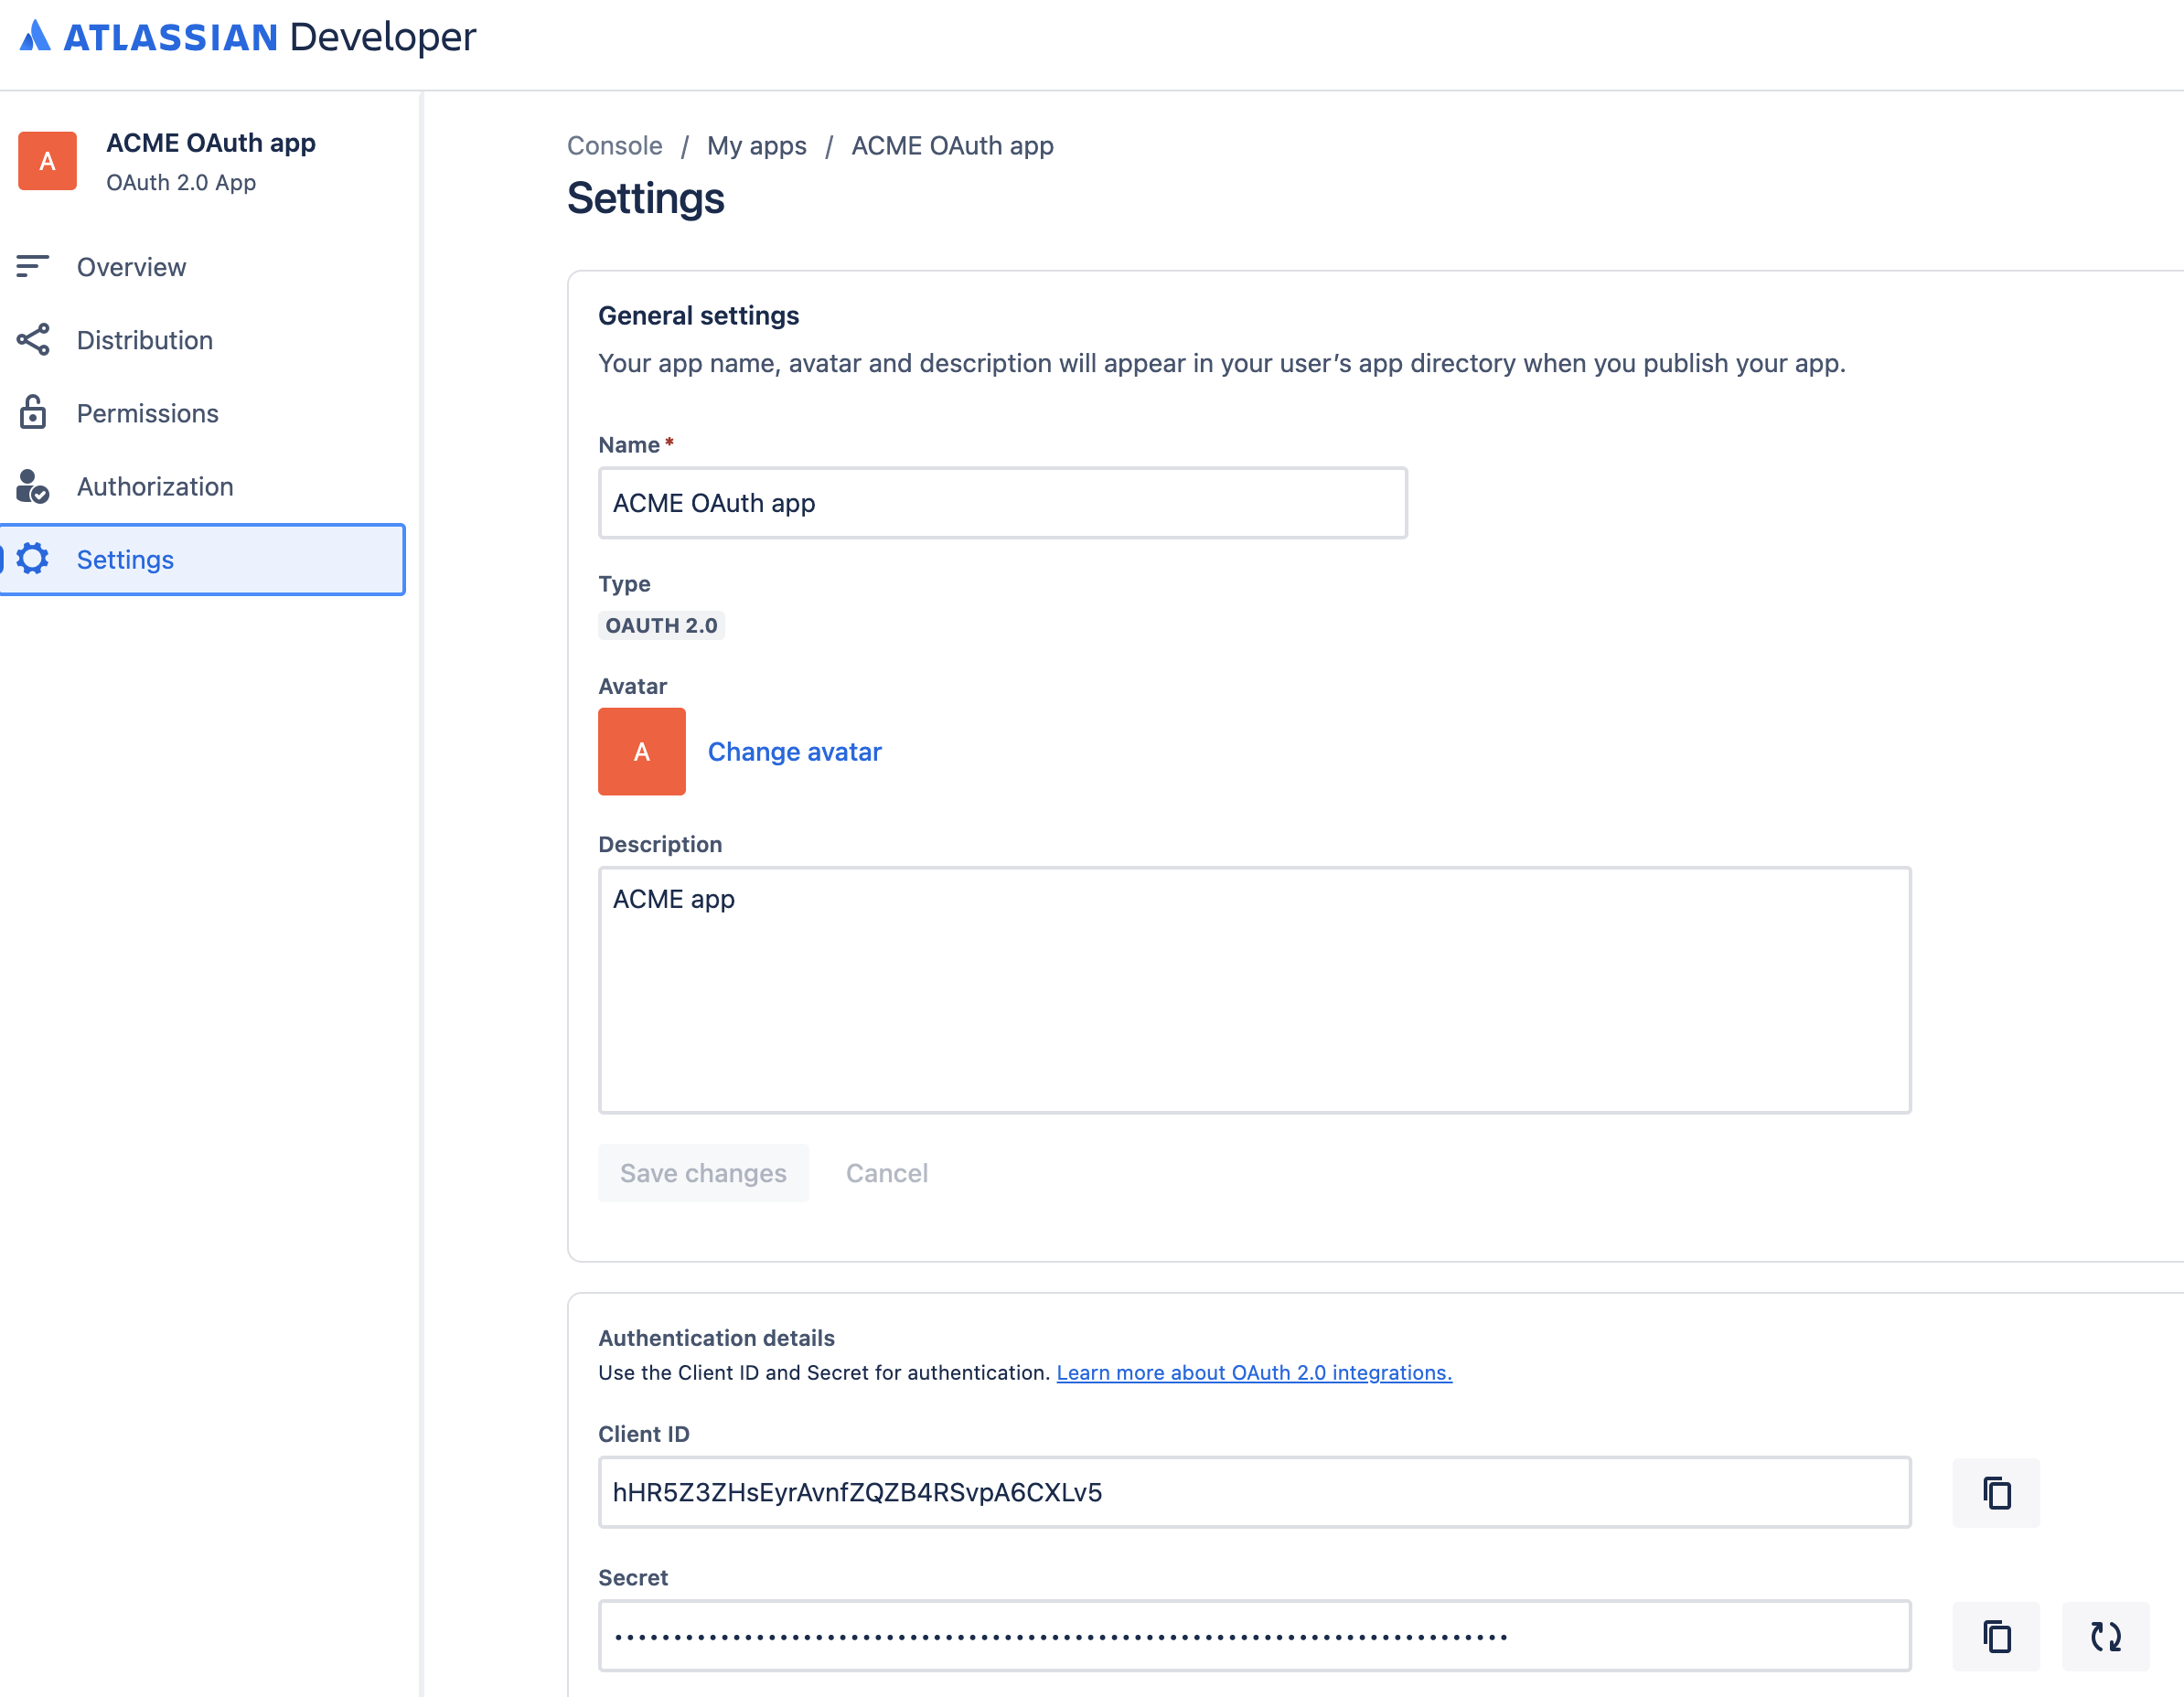
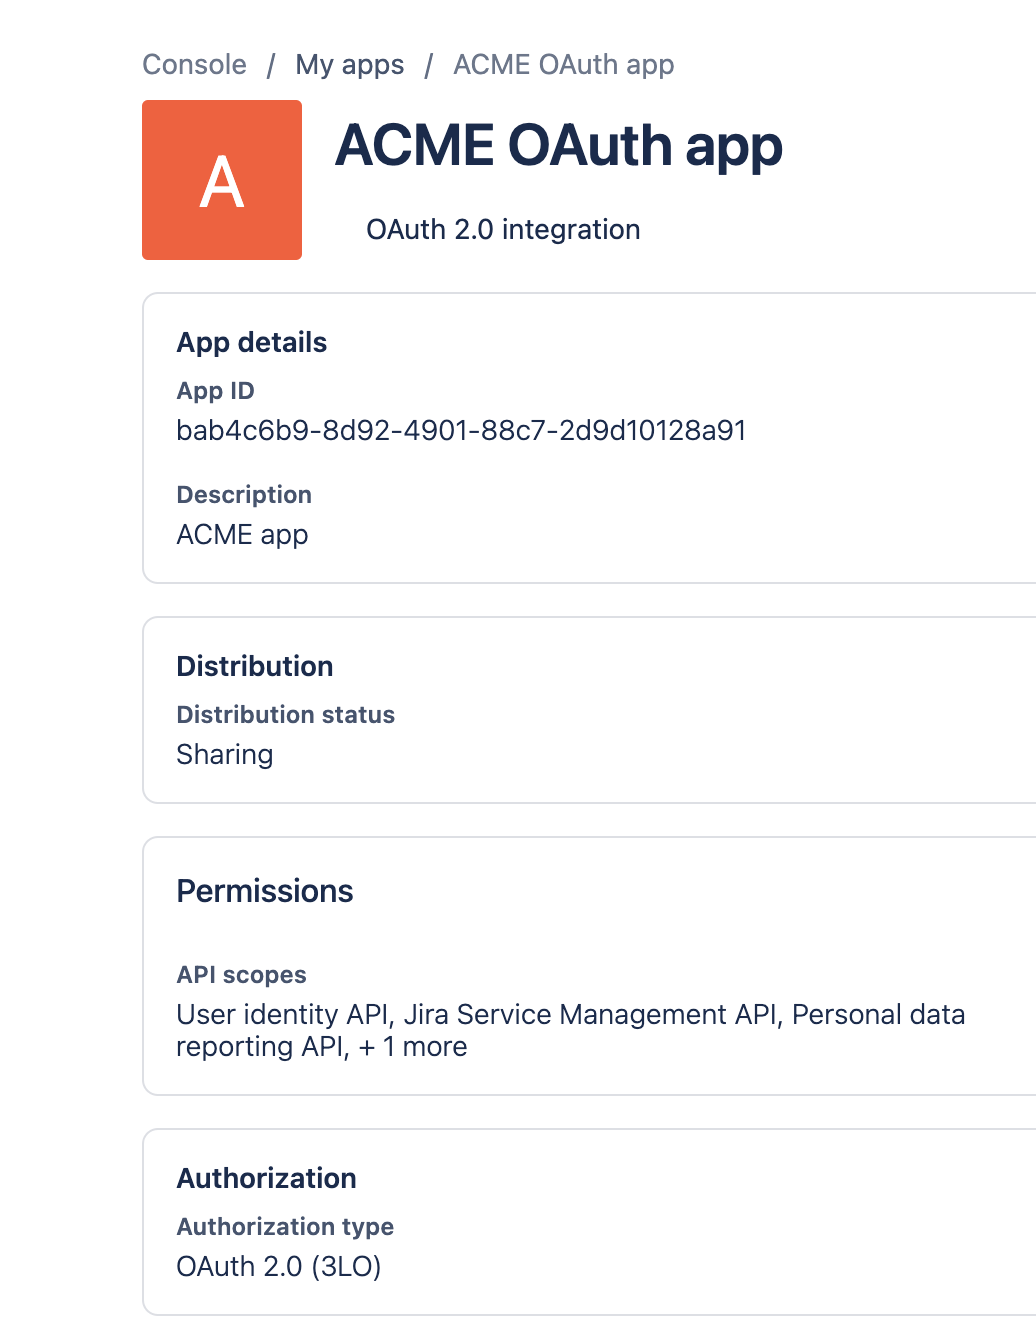
After you have created the app, you will see the overview of the app. Here you can find the client ID and client secret.
Settings with clientId and clientSecret
Overview of the new app
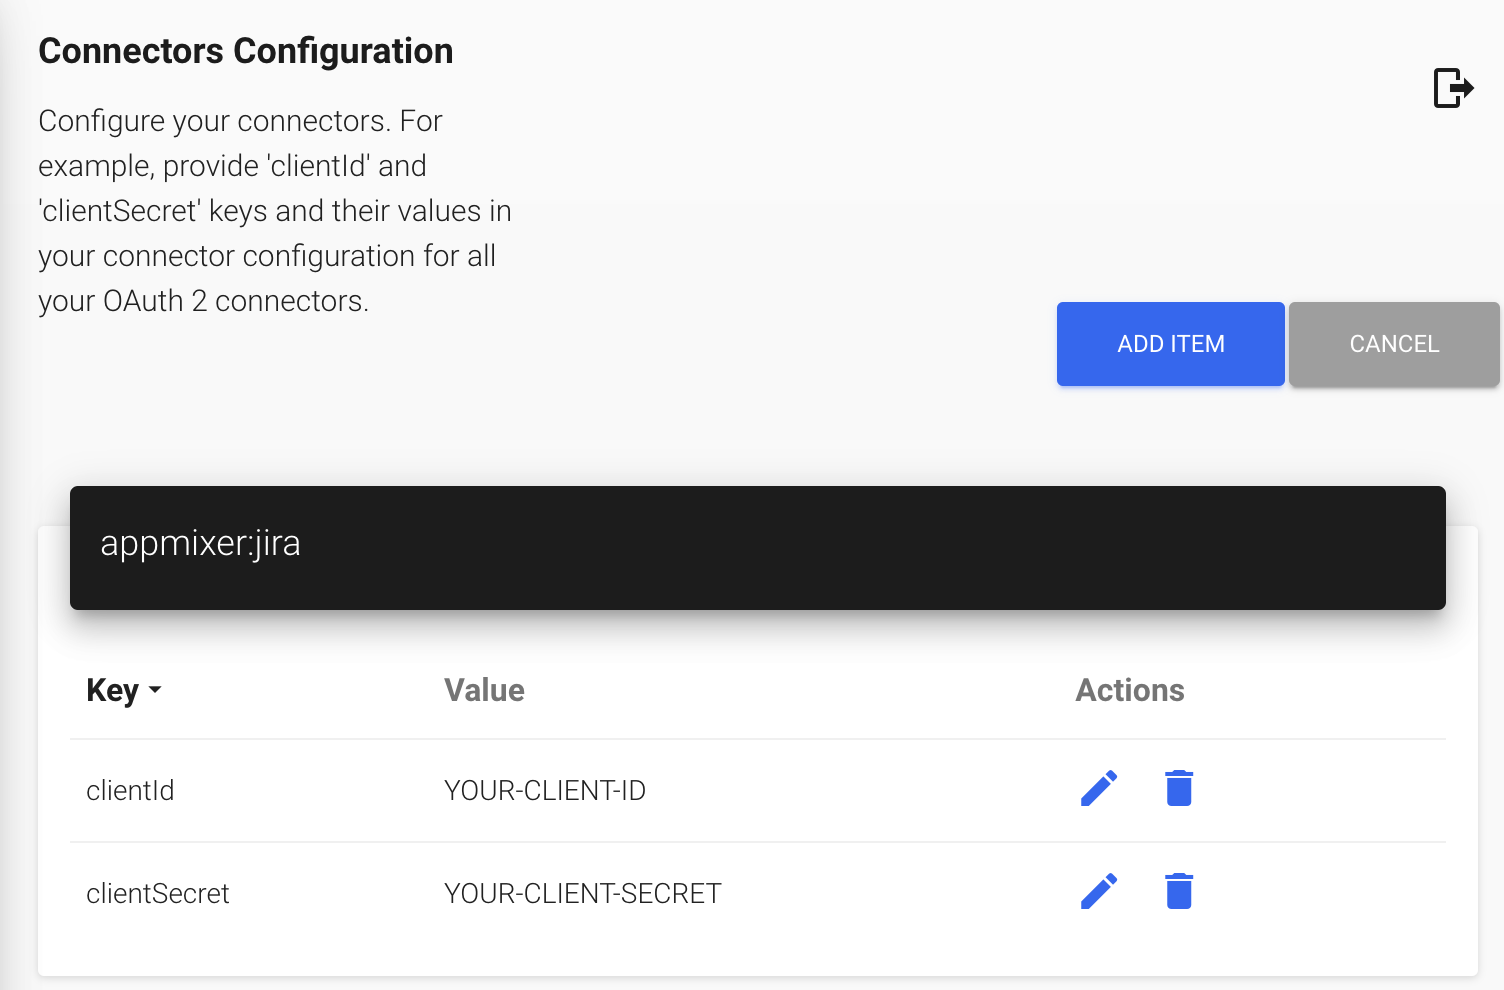
#### Set `clientId`, `clientSecret` into Appmixer Backoffice.
The last step is to configure clientId and clientSecret in the Appmixer Backoffice for `appmixer:jira` connector.
Backoffice JIRA connector configuration
---
# Agent Instructions
This documentation is published with GitBook. GitBook is the documentation platform designed so that both humans and AI agents can read, navigate, and reason over technical content effectively. Learn more at gitbook.com.
## Querying This Documentation
If you need additional information that is not directly available in this page, you can query the documentation by asking a question.
Perform an HTTP GET request on the following URL with the `ask` and `goal` query parameters:
```
GET https://docs.appmixer.com/connector-configuration/jira.md?ask=&goal=
```
`ask` is the immediate question: it should be specific, self-contained, and written in natural language.
`goal` is what the user is ultimately trying to achieve, the reason they need the answer. Sharing it helps GitBook give you a better, more relevant answer. A goal is most helpful when it describes the outcome the user wants rather than restating the question. For example, with `ask=how do I create an API token`, a goal like `automate deployments from our CI pipeline` lets GitBook tailor the answer to that use case.
The response will contain a direct answer to the question and relevant excerpts and sources from the documentation.
Use this mechanism when the answer is not explicitly present in the current page, you need clarification or additional context, or you want to retrieve related documentation sections.