LogoLogo
6.1
  • Docs
  • Connector Configuration
  • Knowledge Base
  • Changelog
6.1
  • Introduction
  • Getting Started
    • Build and Publish an Integration
    • Build and Run an Automation
    • Build and Run an AI agent
    • Build a Custom Connector
    • Embed into Your Application
    • Monitor & Troubleshoot
    • Access Appmixer REST API
    • Install and Update Connectors
    • Connector Configuration
    • Handle Flow Errors
    • Use App Events
    • End User Guide
  • API
    • Authentication
    • Flows
    • Apps
    • Accounts
    • User
    • Insights
    • Files
    • Data Stores
    • Connector Configuration
    • People Task
    • ACL
    • Charts
    • Config
    • Modifiers
    • Public Files
    • Unprocessed Messages
    • Variables
  • Building Connectors
    • Flow
    • Component
    • Basic Structure
    • Manifest
      • name
      • label
      • icon
      • description
      • auth
      • inPorts
      • outPorts
      • properties
      • quota
      • tick
      • private
      • webhook
      • httpRequestMethods
      • state
      • author
      • marker
      • localization
      • firePatterns
    • Behaviour
    • Dependencies
    • Authentication
    • Quotas & Limits
    • Example: twilio.SendSMS
    • Example: Webhook Trigger
  • Appmixer UI SDK
    • Introduction
    • Installation
    • Quick Start
    • Constructor
    • API Module
    • UI & Widgets
      • Flow Manager
      • Designer
      • Insights Logs
      • Insights Chart Editor
      • Insights Dashboard
      • Accounts
      • Storage
      • People Tasks
      • Connectors
      • Integrations
      • Wizard
    • Custom API
  • Customizing Embedded UI
    • Custom Theme
    • Custom Strings
    • Custom Component Strings
  • Appmixer Backoffice
    • Getting Started
    • System Configuration
  • Appmixer CLI
    • Getting Started
    • OpenAPI Connector Generator
      • Getting started
      • Open API Extensions
      • Examples
  • Appmixer Self-Managed
    • Installation Docker Compose
    • Installation AWS ECS
    • Getting Started
    • Authentication Hub
    • Additional Configuration
    • Appmixer Architecture
    • Appmixer Deployment Models
  • Tutorials
    • Appmixer Virtual Users
    • Flows Metadata & Filtering
    • Access Control
    • Sharing Flows
    • People Tasks
    • Customizing modifiers
  • App Registration
    • Airtable
    • ActiveCampaign
    • Asana
    • Azure Cognitive Services
    • Blackboard
    • DeepAI
    • DocuSign
    • Dropbox
    • Freshdesk
    • Google
    • Highrise
    • Hubspot
    • Jira
    • Jotform
    • LinkedIn
    • Mailchimp
    • Microsoft
    • Microsoft Dynamics 365 CRM
    • Monday
    • Open AI
    • Pipedrive
    • Quickbooks
    • Redmine
    • Salesforce
    • Schoology
    • Screenshot API
    • ServiceNow
    • Slack
    • Trello
    • Typeform
    • Twilio
    • Twitter
    • Utilities
      • AI
      • Email
      • Language
      • Tasks
      • Test
      • Weather
      • AppEvents
    • Xero
    • Zendesk Tickets
    • Zendesk Chat
    • Zoho
  • Connectors
    • Connector Request
Powered by GitBook
On this page
  • Setup the App and Administrator account
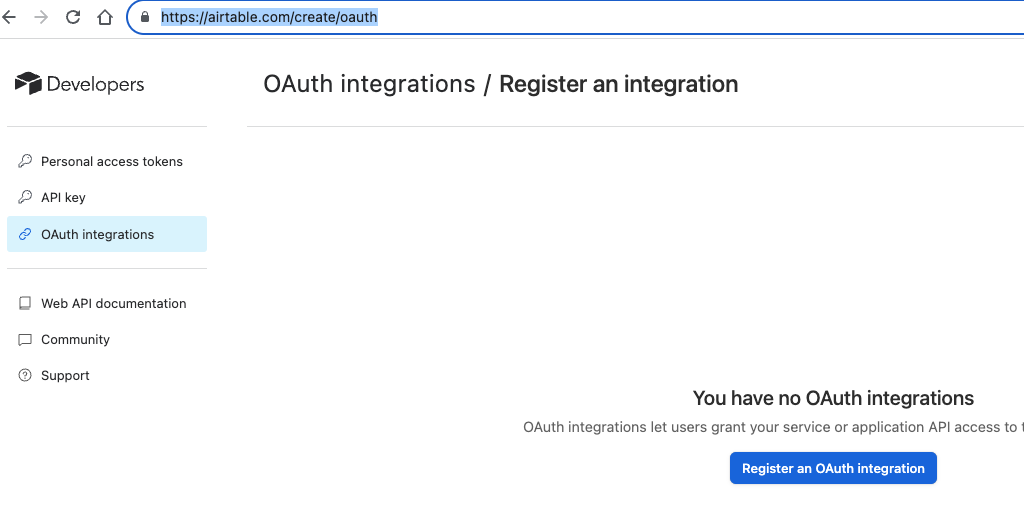
  • 2. Register OAuth app

Was this helpful?

Export as PDF
  1. App Registration

Airtable

PreviousCustomizing modifiersNextActiveCampaign

Was this helpful?

Setup the App and Administrator account

Sign up with Airtable:

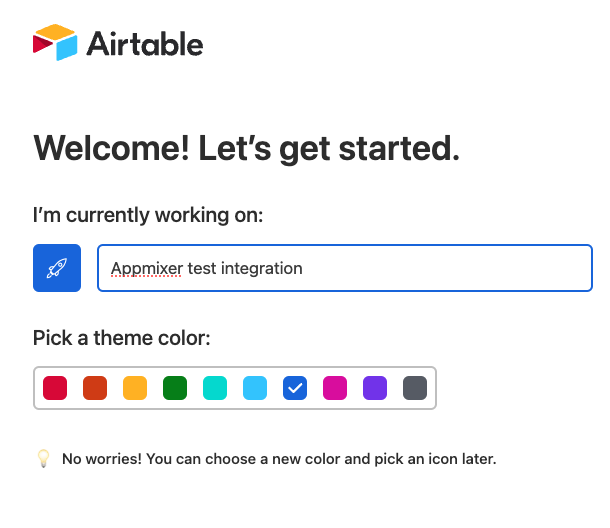
Specify Base name

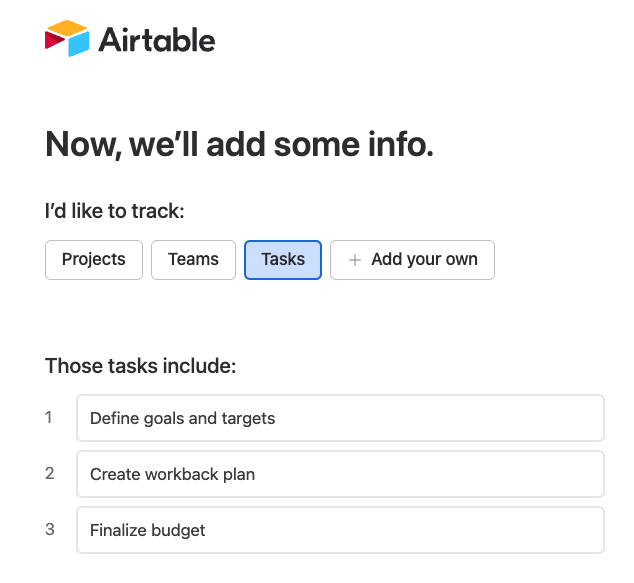
Specify Table name

Specify Table details (fields)
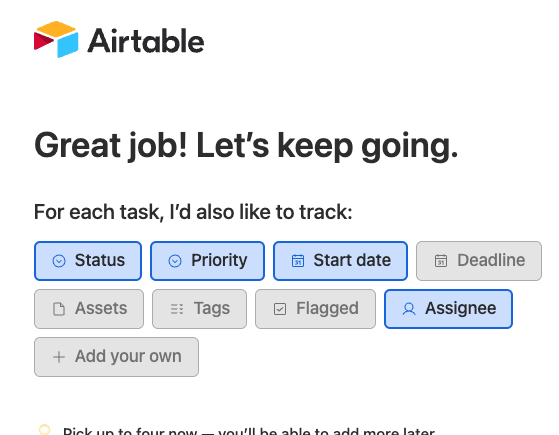
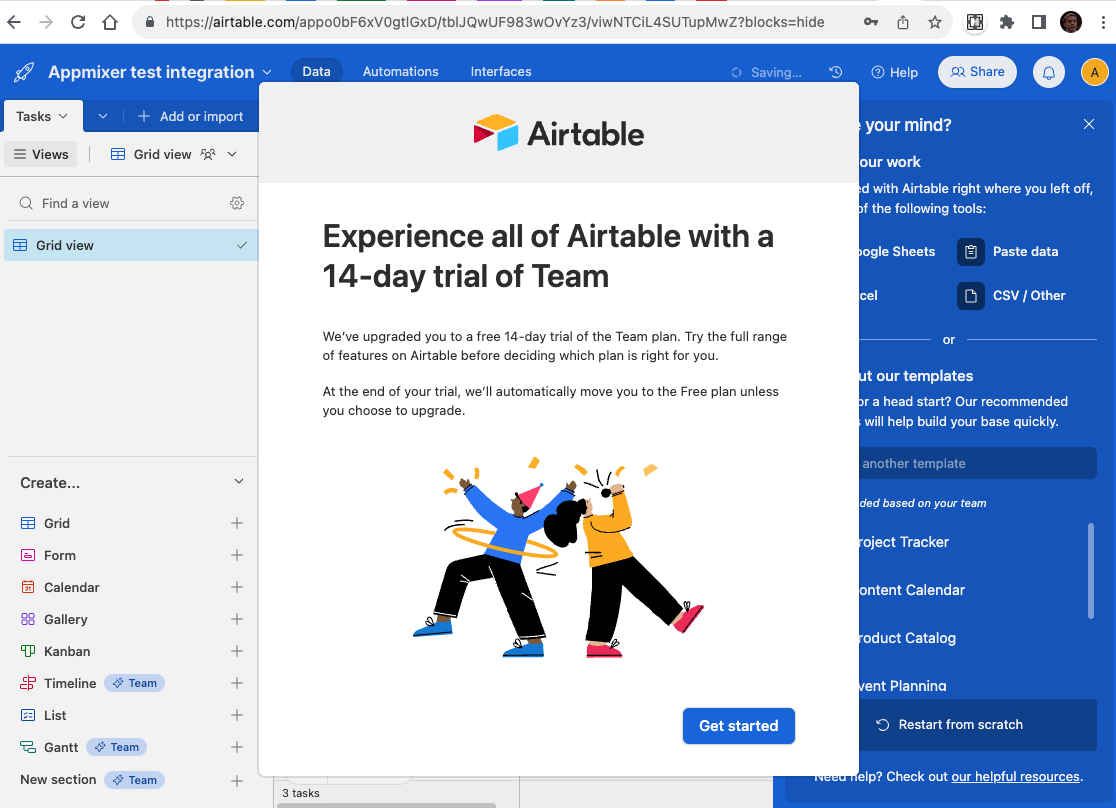
Now the Airtable workspace/base is prepared. Let's configure the OAuth app.

2. Register OAuth app

Specify name

Specify name and callback url
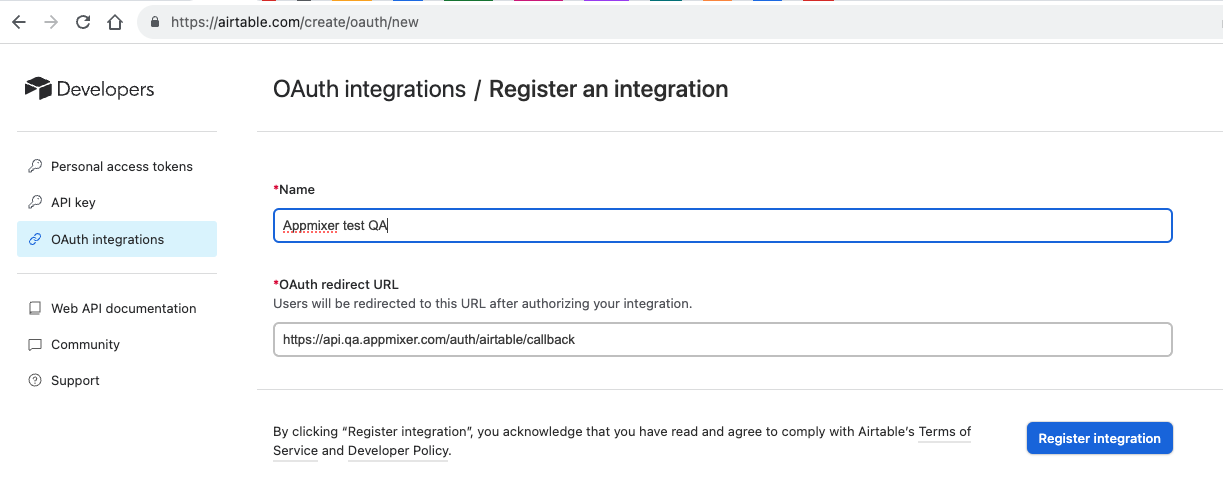
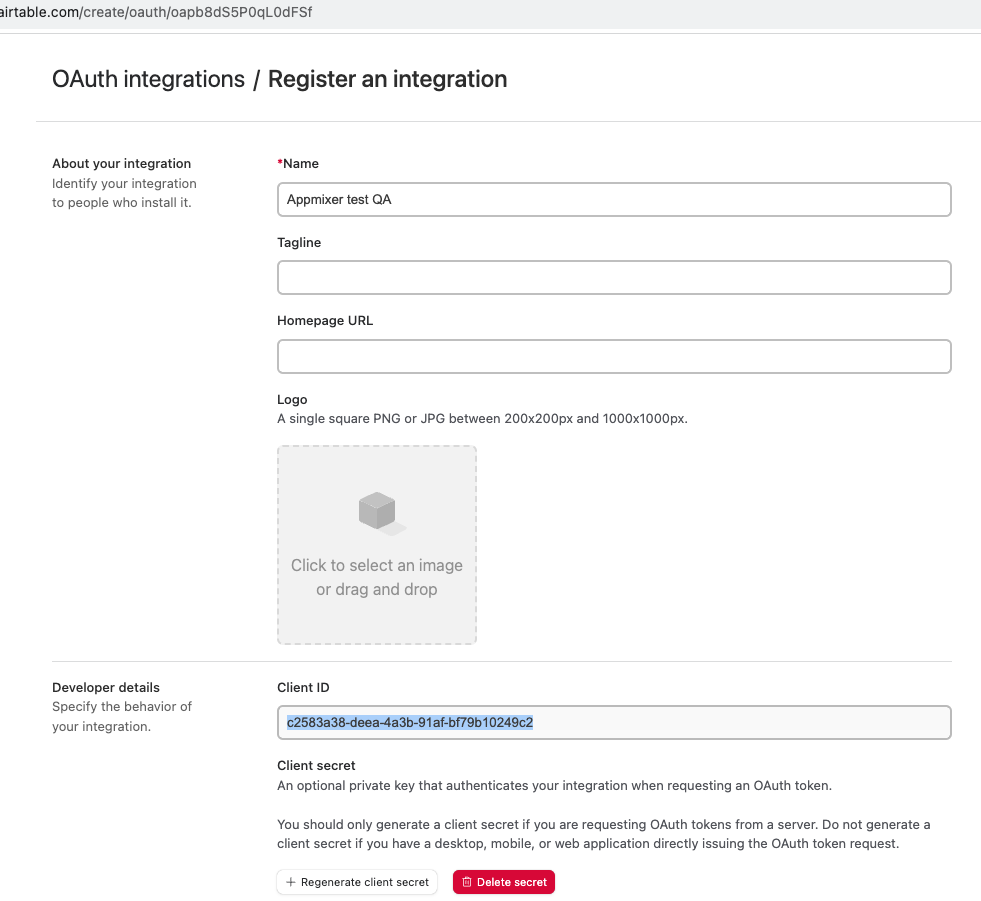
Generate client secret
Specify scopes
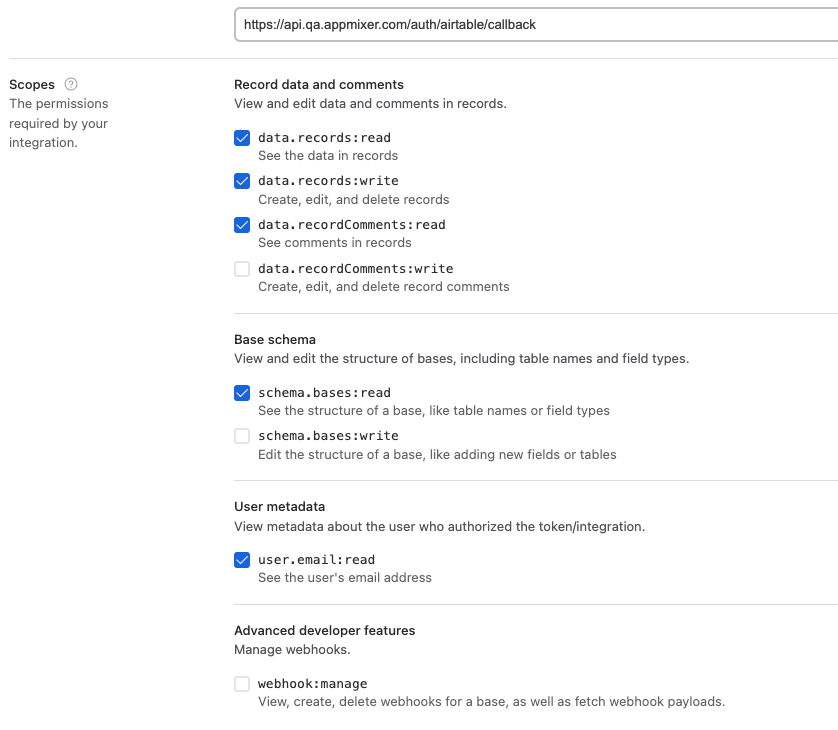
Set clientId and clientSecret into Appmixer Backoffice.
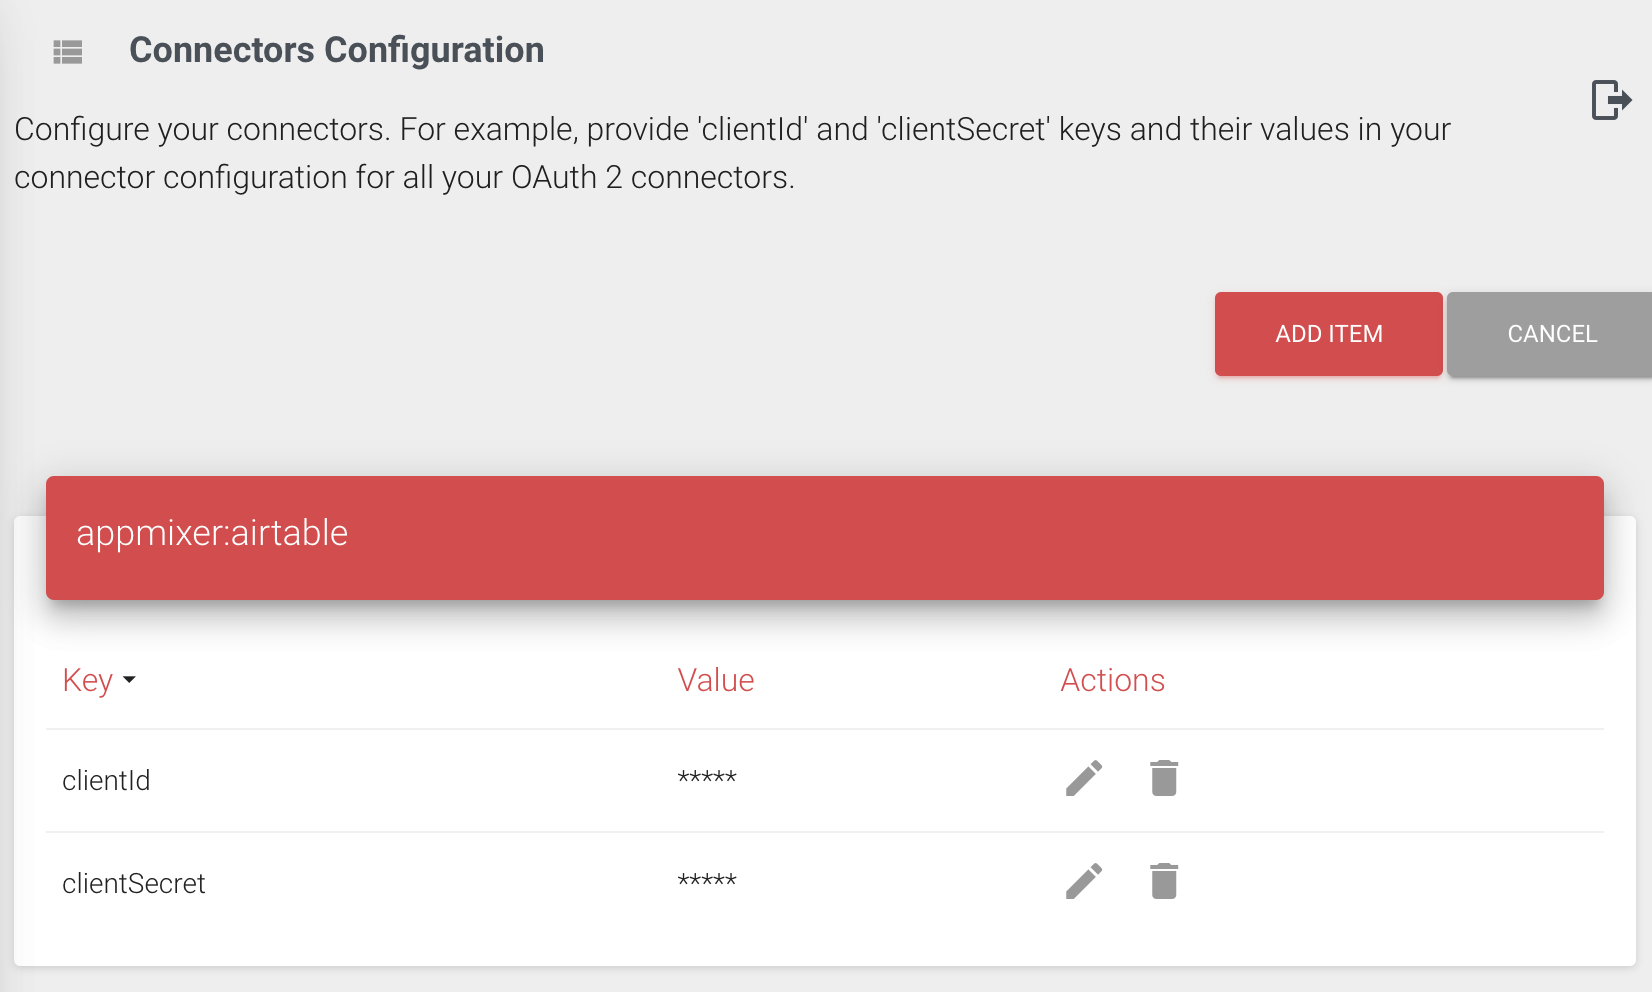
The last step is to configure clientId and clientSecret in the Appmixer Backoffice for appmixer:airtable

https://airtable.com/signup
Specify base name
Specify table name
Specify table details
Airtable workspace created
Backoffice Airtable connector configuration
Specify base name