Build a Custom Connector
Appmixer enables you to expand its default set of connectors with your own custom connectors. These connectors can interface with third-party APIs, your internal APIs, or provide utilities or business logic tailored to your product.
In Appmixer, connectors are implemented as Node.js modules, accompanied by JSON manifest files. These files contain metadata such as icons, descriptions, and input/output definitions.
Explore the public Appmixer Github repository , which houses almost all Appmixer connectors, for inspiration for your own connectors. Additionally, you're invited to contribute by submitting a pull request (PR) to the repository. This collaborative approach allows you to not only benefit from the collective knowledge of the Appmixer community but also to share your innovations with others.
Component Overview
In this guide, we will demonstrate how to implement a basic connector, offering just one action component. We will create a connector for the Bored API, a public API that requires no authentication and provides a single HTTP GET endpoint. This endpoint returns a random activity suggestion for when you're feeling bored.
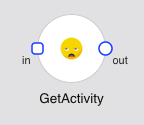
Our component will feature one input port, allowing it to connect with other components within your automations and integrations. It will also have one output port for linking to subsequent actions that might utilize the data from our GetActivity component. Additionally, our component will offer an option for users to specify the type of activity they wish to receive—be it "education," "recreational," or "cooking."
Install Appmixer CLI
First, you need to install the Appmixer CLI tool, which enables you to build, test and deploy custom connectors. You can install the tool using npm:
Now, you need to initialize the CLI tool to configure it for your Appmixer tenant and log in with an admin account. Before you publish your components, verify that your admin account is associated with a "vendor." To do this, visit your Appmixer tenant's backoffice at https://backoffice.[YOURTENANT].appmixer.cloud. Navigate to the Users page, locate your user account, edit it, and add "appmixer" as the vendor. Without having the vendor assigned, you will not be able to publish components to your Appmixer tenant.

Please note that YOURTENANT refers to the tenant ID assigned to you during the signup process.
At this point, your CLI is initialized, and you are ready to start building, testing, and publishing your components.
Create your Component
To generate a boilerplate code for our connector, we will use the Appmixer CLI's generator tool:
In our example above, we used the tool to generate a component with the ID appmixer.boredapi.core.GetActivity. It's important to adhere to Appmixer's convention for fully qualified component names, which follows the pattern [VENDOR].[SERVICE].[MODULE].[COMPONENT]. The description is provided using the --description parameter. The author of the component is specified with the --author parameter, while --inPorts and --outPorts parameters are used to define comma-separated names of input and output ports, respectively (in this case, just one port for each type). The --iconUri parameter allows the passing of a URL for an icon that will be used for the component. Note also that the generator does more than just output the single component code and manifest file; it creates the necessary directory hierarchy and the service.json connector manifest file to complete our connector.
The resulting file structure should resemble the following:
Each component is comprised of two main files: a component.json manifest file that defines the metadata of the component, and a Node.js module (GetActivity.js in our case) that implements the behavior of our component, namely, how it processes inputs and produces outputs. In this guide, we will leave the package.json file as is, since our component does not require any dependencies (no third-party Node.js libraries are needed).
Define Input and Output
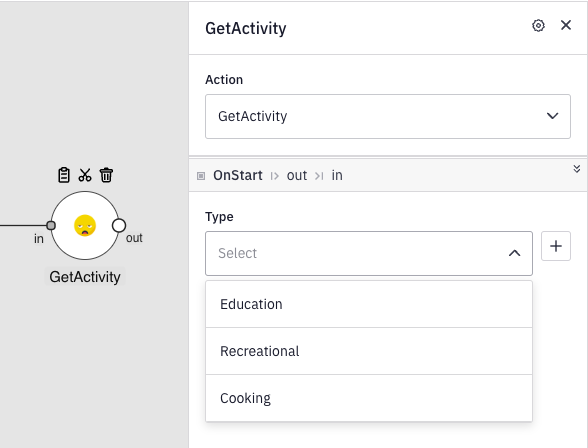
We can now proceed to edit the component.json manifest file, adding an input field to allow users to specify the type of random activity they wish to receive. This type field corresponds directly to the type query parameter of the Bored API endpoint.
Simultaneously, we will define the output of our component, which corresponds to the response received from the HTTP GET request to the /api/activity endpoint. While defining the output is optional, omitting it means users utilizing our component in their automations cannot reference specific values directly when connecting our component's data with other components.
Originally, our generated component.json manifest file looked like this:
After incorporating our changes, which include adding a type input parameter and defining the output, the manifest file will be updated as follows:
The schema.properties section defines a JSON Schema for our input while the inspector.inputs section defines the form to collect input from the user.
Call 3rd Party HTTP API
The final piece of our component is its behavior—specifically, how it responds to inputs and generates outputs. This is achieved through a Node.js module that exports functions recognized by Appmixer. The most crucial function is the receive(context) method, which Appmixer triggers whenever the component receives an input. Within this method, you can implement any business logic or make calls to third-party or internal HTTP endpoints (other protocols are also supported, essentially anything that Node.js can handle). When your component is prepared to output data (typically by using the response object from an HTTP call), it should use the built-in context.sendJson(object, PORT) function. The final GetActivity.js file will appear as follows:
The receive() function initiates an HTTP GET request to our API, incorporating the type input as a query parameter with the same name. All user inputs are accessible through the context.messages.[INPUT_PORT_NAME].content object. We also utilize the built-in context.httpRequest() method to simplify the initiation of HTTP requests. While you're free to use any Node.js library of your choice for making HTTP requests, the httpRequest() method offers a convenient alternative that includes easy request sending and proper error logging.
It's important to note that our code does not explicitly handle errors. This is because Appmixer is designed to automatically manage errors on behalf of the component. If the receive() function encounters an error, such as an HTTP request failing, Appmixer will retry the function automatically at a later time, employing an exponential backoff strategy.
Test your Component
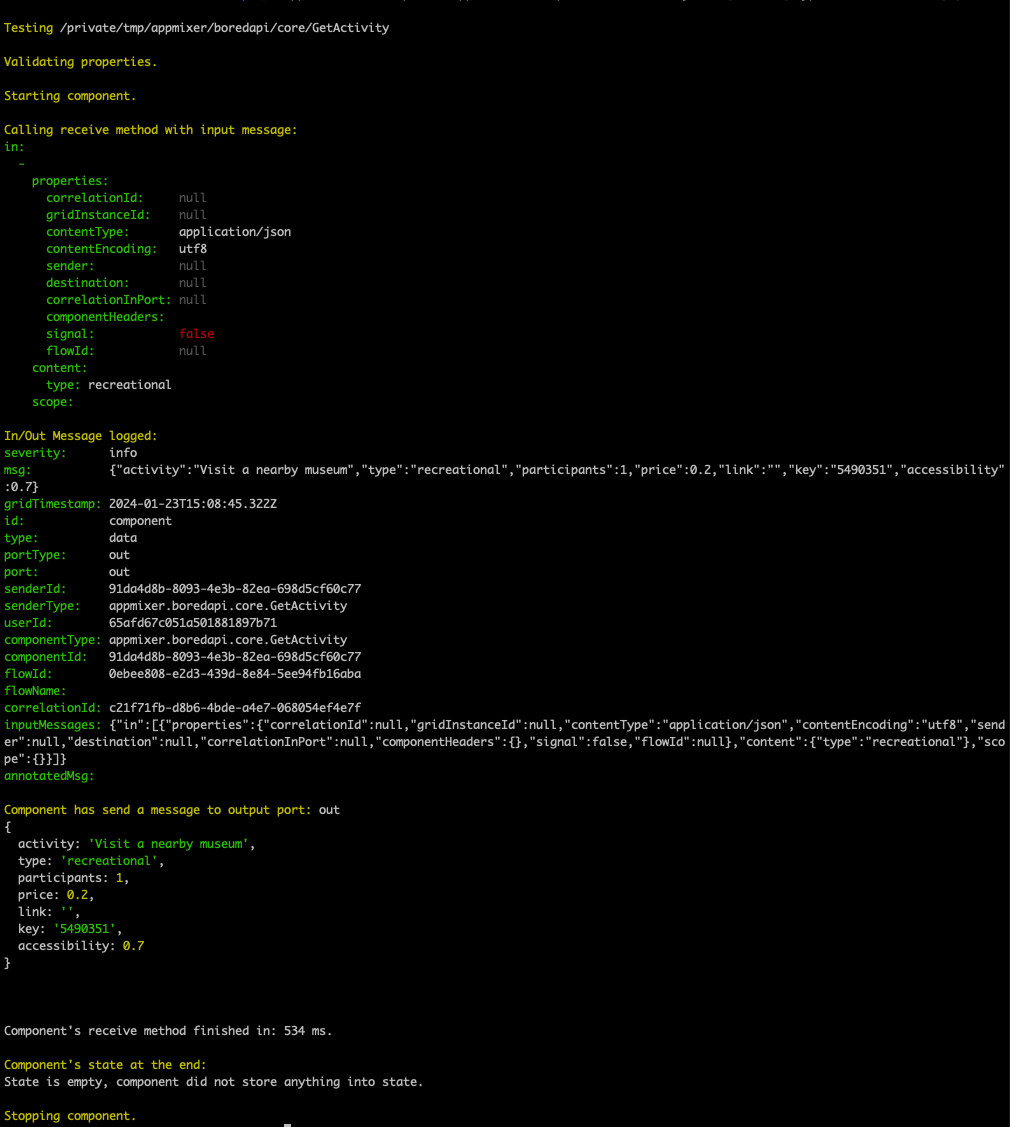
Although your component is now ready to be published to your Appmixer tenant, it is advisable to first conduct local testing. Continuously updating your component code, republishing it, and reconfiguring or restarting your test flow for every test can be cumbersome. Consequently, the Appmixer CLI includes a tool that facilitates local testing of your component. In our scenario, we aim to test our component by providing the type input, allowing the component to execute its action (make an HTTP request), and then observe the output:
Below is the console output from our test:
Publish your Component
Now, we are ready to publish the component to our Appmixer tenant. This will enable us to utilize it in our integration templates, internal automations, or make it available to our end-users through the embedded automation designer.
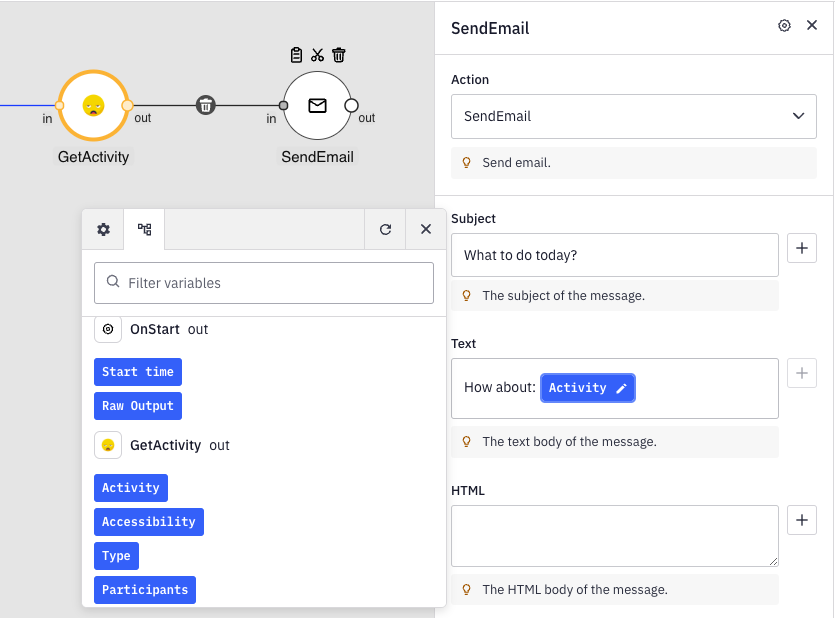
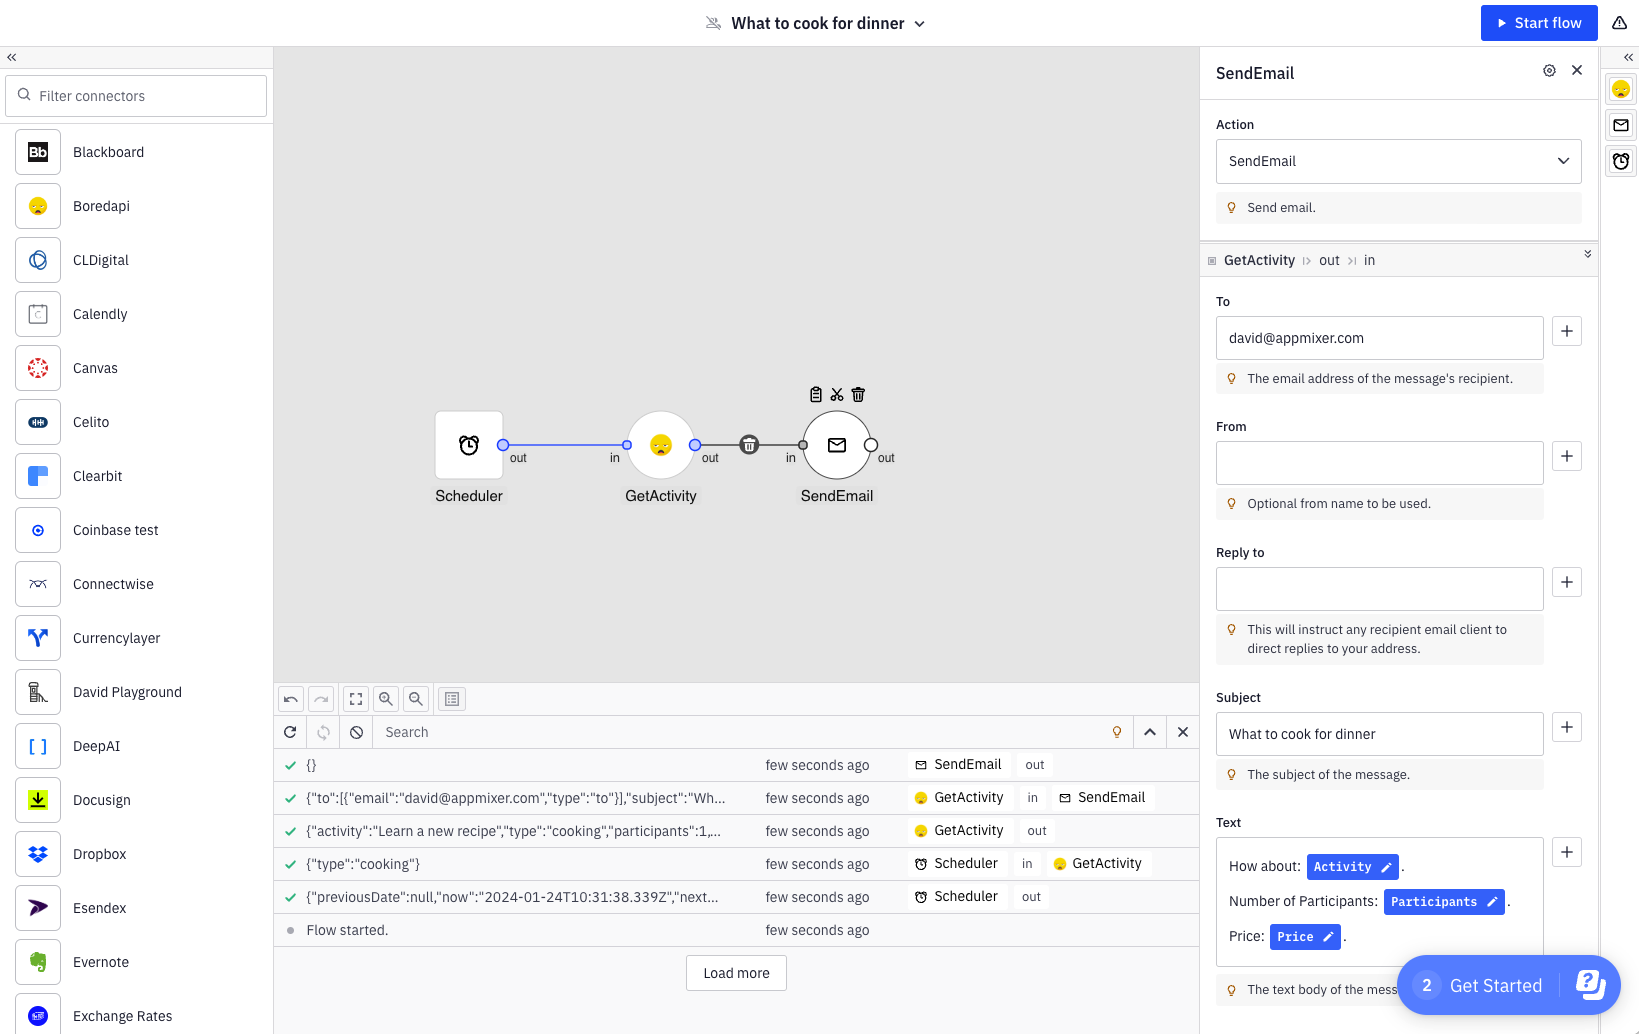
Finally, we can set up an automation that sends us an email every day at 17:00, providing ideas for cooking activities:
If you need to make changes to your connector, simply edit the files, re-pack, and re-publish. Your changes will then be reflected in your tenant.
Was this helpful?
